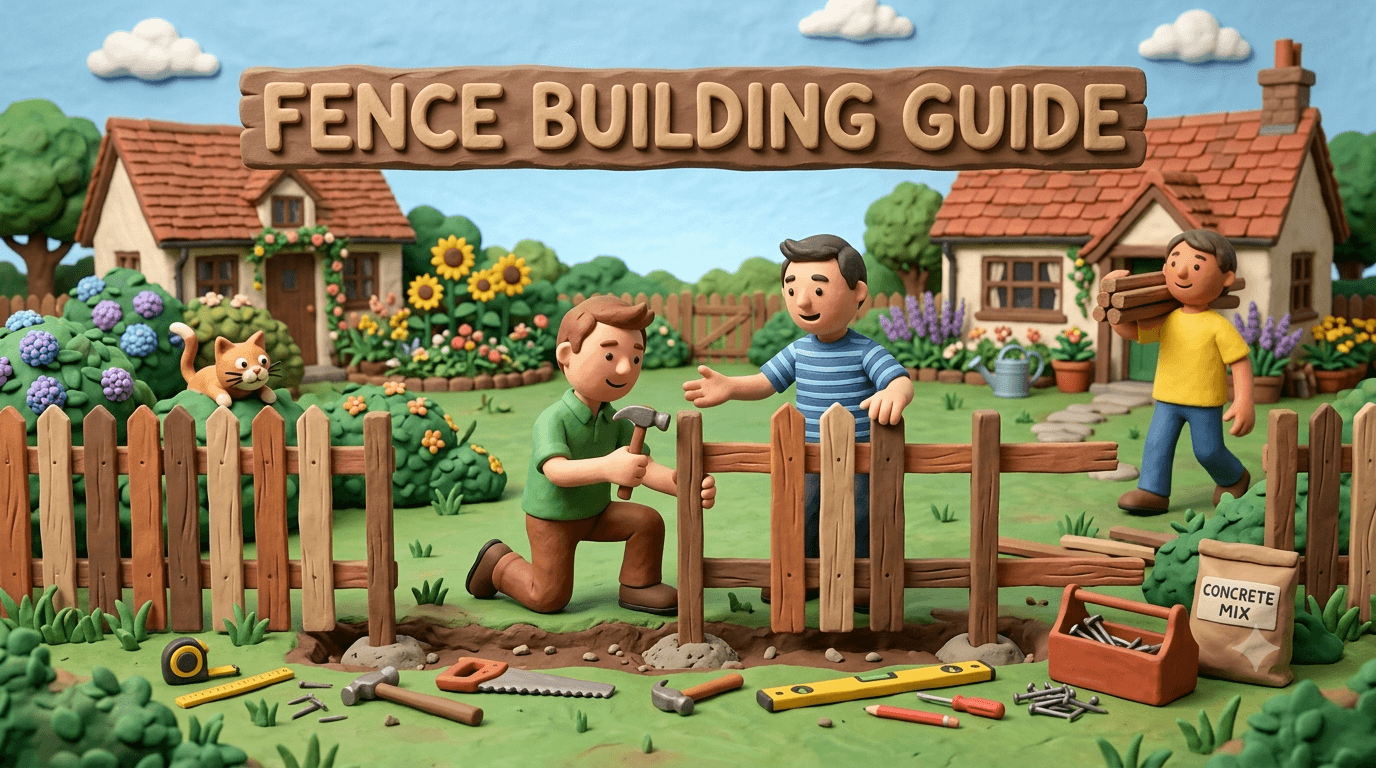
A fence is one of the most useful things you will ever build on a homestead. It keeps your animals in and the deer out. It marks your line, blocks the wind, and gives the dog room to run. And the best part is you can build a solid fence yourself, with hand tools and a free weekend.
This guide walks you through the whole job in plain language. You will learn the main fence types and how they compare, how to plan a run, which materials to pick, and how to set posts that stand straight for decades. We will cover tools, a full cost breakdown, a step by step build, and the mistakes that trip up first time fence builders. Grab a coffee and let us get into it.
What a Fence Does on a Homestead
A fence does more than mark where your land ends. On a working homestead it earns its keep every single day.
It contains. A good fence keeps chickens, goats, dogs, and cattle where they belong and off the road. It protects. A garden fence stops deer, rabbits, and the neighbor's dog from eating your hard work. It defines. A clear boundary keeps the peace with neighbors and the county. And it shelters. A solid privacy fence blocks wind, buffers noise, and gives you a quiet corner to sit.
The right fence depends on the job. A fence that pens goats looks nothing like a fence that frames your front yard. So the first question is always the same. What is this fence for? Answer that and the rest of the choices fall into place.
Fence Types Compared
There is no single best fence. The right one depends on the job, your budget, your land, and how handy you are. Here are the six designs most homesteaders choose from.
Wood Privacy Fence
A privacy fence is a solid wall of vertical boards on a rail and post frame. It blocks sight, wind, and noise, and gives you a private yard.
- Pros. Total privacy. Blocks wind and sound. Looks great. Adds value to a property.
- Cons. The most material and the most work. Catches wind like a sail, so posts must be set deep and solid.
- Best for. Backyards, patios, and anywhere you want privacy and a finished look.
Picket Fence
A picket fence is the classic short fence of spaced vertical boards with pointed or rounded tops. It marks a yard or garden without blocking the view.
- Pros. Charming and friendly. Less material than a privacy fence. Keeps pets and kids in and deer browsing out of a small garden.
- Cons. Low and open, so it offers no privacy and will not hold large livestock.
- Best for. Front yards, cottage gardens, and gentle boundaries.
Split Rail Fence
A split rail fence is a rustic line of horizontal rails set into notched or drilled posts. It is fast, cheap, and looks right at home in the country.
- Pros. Quick to build. Uses fewer posts. Cheap. Easy to run over long distances and uneven ground.
- Cons. Wide gaps let small animals through. Offers no privacy and little containment on its own.
- Best for. Property lines, pasture edges, and a rustic country look. Add woven wire on the inside to hold livestock.
Woven Wire or Field Fence
Woven wire is a grid of horizontal and vertical wires stretched between posts. It is the workhorse of livestock fencing.
- Pros. Strong and affordable per foot. Holds goats, sheep, cattle, and poultry. Follows hills and curves well.
- Cons. Needs well braced corner and end posts to stay tight. Less attractive than wood. Stretching wire takes some practice.
- Best for. Pastures, paddocks, and any run where you need to contain animals over a large area.
Electric Fence
An electric fence carries a pulsing charge along smooth wire or tape, held off the posts by insulators. The shock trains animals to respect the line.
- Pros. Cheap per foot. Fast to install. Easy to move for rotational grazing. A few strands hold a lot of animals.
- Cons. Needs a power source and a good ground rod. Must be checked often. Not a permanent physical barrier on its own.
- Best for. Rotational grazing, temporary paddocks, and adding bite to an existing fence.
Chain Link Fence
Chain link is a galvanized steel mesh hung on metal posts. It is the tough, low fuss option.
- Pros. Very durable. Low maintenance. Secure. Lets light and air through. Lasts for decades.
- Cons. Industrial look. Offers no privacy without slats. Harder for a beginner to install than wood.
- Best for. Dog runs, security, and boundaries where strength matters more than looks.
Tip
If you are building your first fence and you want a project that teaches you everything, a wood post and rail fence with vertical boards is the one to learn on. You will set posts, run rails, hang a gate, and finish the job. That is the build we walk through below, and the skills carry over to every other fence on this list.
Planning Your Fence
A little planning up front saves you a lot of grief later. Spend an afternoon on these steps before you dig a single hole.
- Know your purpose. Privacy, livestock, or a simple boundary. The job sets the height, the style, and the spacing.
- Find your property line. Never guess. Check your survey or pull pins. A fence built over the line is a fence you may have to tear down.
- Call 811 before you dig. This free service marks buried gas, water, power, and cable lines. It is the law in most places and it can save your life. Call a few days ahead.
- Check local code and setbacks. Many areas limit fence height and require a setback from the line or the road. Some need a permit. Ask your local building or zoning office first.
- Talk to your neighbor. A shared boundary fence goes smoother when both sides agree. In some places the cost is split by law.
- Walk the line and plan gates. Stake the corners and walk it. Decide where gates go for people, mowers, and equipment before you set posts.
- Plan for slope. On a hill you either step the fence down in level sections or rack it to follow the grade. Know which look you want before you build.
Choosing Your Materials
The materials you pick decide how long the fence lasts and how much it costs. Here are the choices that matter most.
Posts
Posts carry the whole fence, so do not cheap out here. You have three common choices.
- Cedar. Naturally rot resistant, beautiful, and a joy to work with. The premium wood choice.
- Pressure treated pine. Cheaper than cedar and rated for ground contact. The workhorse post for most fences. Look for posts rated UC4A or higher for in ground use.
- Steel T posts. Cheap, fast to drive, and ideal for wire and field fence. Pair them with wood or heavy braced corners.
Whatever you choose, the post that touches the ground must be rot resistant. A fence almost always fails at the post first.
Rails, Boards, and Wire
For a wood fence, cedar and pressure treated pine again lead the pack. Cedar weathers to a soft gray and resists rot without sealing. Treated pine costs less and takes paint or stain well. For wire fences, buy galvanized woven wire or field fence rated for the animals you keep, and a roll of smooth or barbed line wire to match.
Hardware
Use exterior rated, hot dipped galvanized or coated screws and nails. Cheap fasteners rust, stain the wood, and let the fence sag in a few short years. Buy heavy hinges and a solid latch for any gate. Gates take the most abuse, so this is no place to save a few dollars.
Tools You Will Need
Most of these live in a typical home workshop or rent cheaply by the day.
- Post hole digger or a powered auger for many holes
- Tamping bar or a length of 2x4 for packing
- Shovel and a wheelbarrow
- Tape measure, string line, and marking paint
- 4 ft level and a post level
- Cordless drill and impact driver
- Circular saw or miter saw
- Wheelbarrow or mixing tub for concrete
- Safety glasses, work gloves, and sturdy boots
A few optional items speed the job along.
- A two person auger or a skid steer auger for rocky or hard ground
- A come along or fence stretcher for pulling wire tight
- A laser level for setting post heights on a long run
Materials List and Cost Breakdown
Costs are approximate, based on average United States prices in 2026, for a 100 ft wood privacy fence about 6 ft tall, with posts set 8 ft on center. The budget column assumes treated pine and a watch for sales. Your total swings most with the wood species you pick.
| Item | Quantity | New Cost | Budget Cost |
|---|---|---|---|
| 4x4 x 8 ft posts | 14 | $280 | $180 |
| 2x4 x 8 ft rails | 28 | $250 | $160 |
| Fence boards, 6 ft x 6 in | 200 | $600 to $900 | $400 |
| Bags of fast setting concrete, 50 lb | 14 | $100 | $90 |
| Gravel for post drainage | 0.5 yard | $30 | $30 |
| Exterior screws or nails | 5 lb | $50 | $40 |
| Gate kit, hinges, and latch | 1 | $80 | $50 |
| Exterior stain or sealer | 2 gallons | $80 | $60 |
| Total for a 100 ft privacy fence | ~$1,500 | ~$1,000 |
That works out to roughly $10 to $15 per linear foot in materials for a privacy fence you build yourself. A split rail or wire fence costs far less, often $3 to $7 per foot, since it uses fewer posts and far less wood. Hiring a pro to build the same privacy fence usually runs $25 to $45 per foot, so doing it yourself saves real money.
Step by Step Build Instructions
Plan on a weekend for a short run with two people, or spread it over a few evenings. Set the posts first and let the concrete cure overnight before you hang anything heavy on them.
Step 1: Lay Out the Line
Drive a stake at each corner and end. Run a tight string line between them at the height of the future fence. This line is your guide for every post and board. Mark each post location along the string with paint, spaced 8 ft on center for a wood fence. Check that corners are square by measuring the diagonals until they match.
Step 2: Call Utilities and Dig the Holes
Make sure 811 has marked your buried lines before you dig. Then dig each post hole about one third as deep as the post is tall and three times as wide as the post. For a 6 ft fence on an 8 ft post, that means a hole roughly 2.5 to 3 ft deep. Add a few inches of gravel in the bottom of each hole for drainage.
Warning
Always call 811 and wait for the locate before you dig. Hitting a buried gas or power line can be deadly and costs a fortune to repair. Set your posts below the frost line for your area too, or winter heave will push them up and out of plumb over time.
Step 3: Set the Corner and End Posts
Corner and end posts carry the most load, so set them first and set them well. Drop a post in the hole, hold it plumb with a post level, and brace it with two scrap boards staked to the ground. Pour in fast setting concrete and add water per the bag, or mix it first. Crown the concrete slightly above grade so water sheds away from the wood. Check plumb one more time before it sets.
Step 4: Set the Line Posts
Run a new string line tight between your finished corner posts, set at the exact post height. Set each line post to that string so the whole run sits level and even. Plumb, brace, and concrete each one just like the corners. Let every post cure overnight before you move on. Patience here is what keeps the fence straight for years.
Step 5: Attach the Rails
Once the posts are solid, run your horizontal 2x4 rails between them. A 6 ft fence uses two or three rails, one near the top, one near the bottom, and often one in the middle. Keep each rail level and screw it to the posts with exterior screws. Stagger the joints so two rails do not end on the same post in a row.
Step 6: Attach the Boards
Now hang the vertical fence boards. Start at one end, hold the first board plumb, and screw it to every rail. Use a spacer block or a level to keep each board straight and evenly spaced. Run a string along the tops so the boards finish in a clean, level line. Work down the run one board at a time.
Step 7: Hang the Gate
Frame a simple gate from 2x4s with a diagonal brace running from the bottom hinge corner up to the top latch corner. That brace stops the gate from sagging. Bolt heavy hinges to the post and the gate, hang it level with a small gap at the bottom, and add a latch. Swing it a few times and adjust until it closes clean.
Step 8: Seal, Stain, and Finish
Brush or spray a coat of exterior stain or sealer over the whole fence to lock out water and slow the weathering. Treated lumber should dry for a few weeks before it takes stain, so you can come back to this step. Walk the line, snug any loose screws, and step back to admire the work.
The fence is done.
Fence Post Setting Tips
The posts are the heart of the fence. Get them right and everything else is easy. Get them wrong and the fence leans within a year.
- Bury one third of the post. As a rule, a third of the post goes in the ground. A 6 ft fence wants an 8 ft post set about 2.5 to 3 ft deep.
- Go below the frost line. In cold country, set the bottom of the post below where the ground freezes so winter heave cannot lift it.
- Concrete or gravel. Concrete is the strongest hold and the right call for gates, corners, and privacy fences that catch wind. Packed gravel drains better and lets you reset a post later, which suits line posts and wire fences.
- Crown the top. Slope the concrete or soil away from the post at grade so water runs off instead of pooling against the wood.
- Plumb every post. Use a post level and brace each post before the concrete sets. A post set out of plumb is a post you will fight forever.
Common Mistakes to Avoid
A few traps catch nearly every first time fence builder. Sidestep these and your fence will stand straight for decades.
- Skipping the 811 call. Hitting a buried line is dangerous and expensive. Always call first.
- Setting posts too shallow. Shallow posts lean and lift. Bury a third of the post and go below the frost line.
- Guessing the property line. Build over the line and you may have to tear it down. Confirm your boundary first.
- Cheap fasteners. Non galvanized screws and nails rust, stain the wood, and let the fence sag. Buy coated or hot dipped exterior hardware.
- Weak corners on a wire fence. Wire pulls hard against corners. An unbraced corner post will pull right out of the ground. Brace them well.
- Forgetting the gate brace. A gate with no diagonal brace sags within a season. The brace runs from the bottom hinge side up to the latch side.
- Rushing the concrete. Hanging boards before the posts cure pulls them out of plumb. Let posts set overnight.
- Ignoring the slope. On a hill, decide up front whether to step the fence down or rack it to follow the grade. Winging it looks rough.
Frequently Asked Questions
Frequently Asked Questions
It depends on the type. A wood privacy fence runs about $10 to $15 per linear foot in materials when you build it yourself, or roughly $1,500 for a 100 ft run. A split rail or wire fence costs far less, often $3 to $7 per foot, since it uses fewer posts and less wood. Hiring a pro to build the same privacy fence usually runs $25 to $45 per foot, so doing it yourself saves a lot.
As a rule, bury about one third of the post in the ground. For a 6 ft tall fence on an 8 ft post, that means a hole 2.5 to 3 ft deep. In cold climates, always set the bottom of the post below your local frost line so winter heave cannot lift it. Corner and gate posts can go a little deeper since they carry the most load.
Both work, and the best choice depends on the post. Concrete gives the strongest hold and is the right call for gate posts, corners, and privacy fences that catch wind. Packed gravel drains better, reduces rot at the base, and lets you reset a post later, which makes it a good choice for line posts and wire fences. Many builders use concrete on corners and gates and gravel on the line posts.
Cedar is the premium choice. It resists rot naturally, weathers to a soft gray, and needs no sealing to last. Pressure treated pine is the budget workhorse. It costs less, takes paint or stain well, and lasts for years when rated for ground contact. Whatever you pick, the post that sits in the ground must be rot resistant, since a fence almost always fails at the post first.
Often yes, especially for taller fences. Many areas limit fence height, require a setback from the property line or road, and ask for a permit before you build. Rules vary widely by town and county. Always check with your local building or zoning office before you start, and confirm your property line so the fence does not cross it.
A short wood fence of 100 ft or so takes a weekend for two people, plus an overnight wait for the post concrete to cure before you hang boards. A long wire or split rail fence can take longer to dig but goes up faster once the posts are set. The post setting is the slow part. The rails, boards, and gate go quickly once your posts are solid and plumb.
Woven wire or field fence is the workhorse for most livestock. It is strong, affordable per foot, and holds goats, sheep, cattle, and poultry while following hills and curves. Many homesteaders add a strand or two of electric fence to keep animals off the wire and predators out. The key with any wire fence is well braced corner and end posts, since the wire pulls hard against them.
For a wood fence, set posts 6 to 8 ft on center, with 8 ft being the common spacing for privacy and board fences. For wire and field fence, line posts can run 10 to 12 ft apart, with T posts between heavier braced wood corners. Closer spacing makes a stronger, stiffer fence. Wider spacing saves posts and money on long runs over open ground.
Ready to Build Your Fence?
That is the full picture. You know the fence types, you know how to plan a run and call before you dig, you know which materials to choose, and you have a step by step plan for a sturdy fence you can build yourself. A fence is real work, but it pays you back every day with privacy, safe animals, and a yard that is finally, clearly yours.
When your fence is up, keep building out your homestead. Pen your flock with our free chicken coop plans, or protect your crops with a set of raised garden beds inside your new fence line.
For more weekend projects, browse the full DIY hub. For a complete walk through your first season on the land, head over to our starting a garden guide.
Happy building, and happy homesteading.

Cole
Founder & Lead Researcher
Cole is the founder of Plan Your Homestead. He works in clinical research and brings a research-first lens to every guide on the site, drawing on a long family line of farmers for grounded, practical perspective.
More in DIY
More articles coming soon. Check back for new diy content.