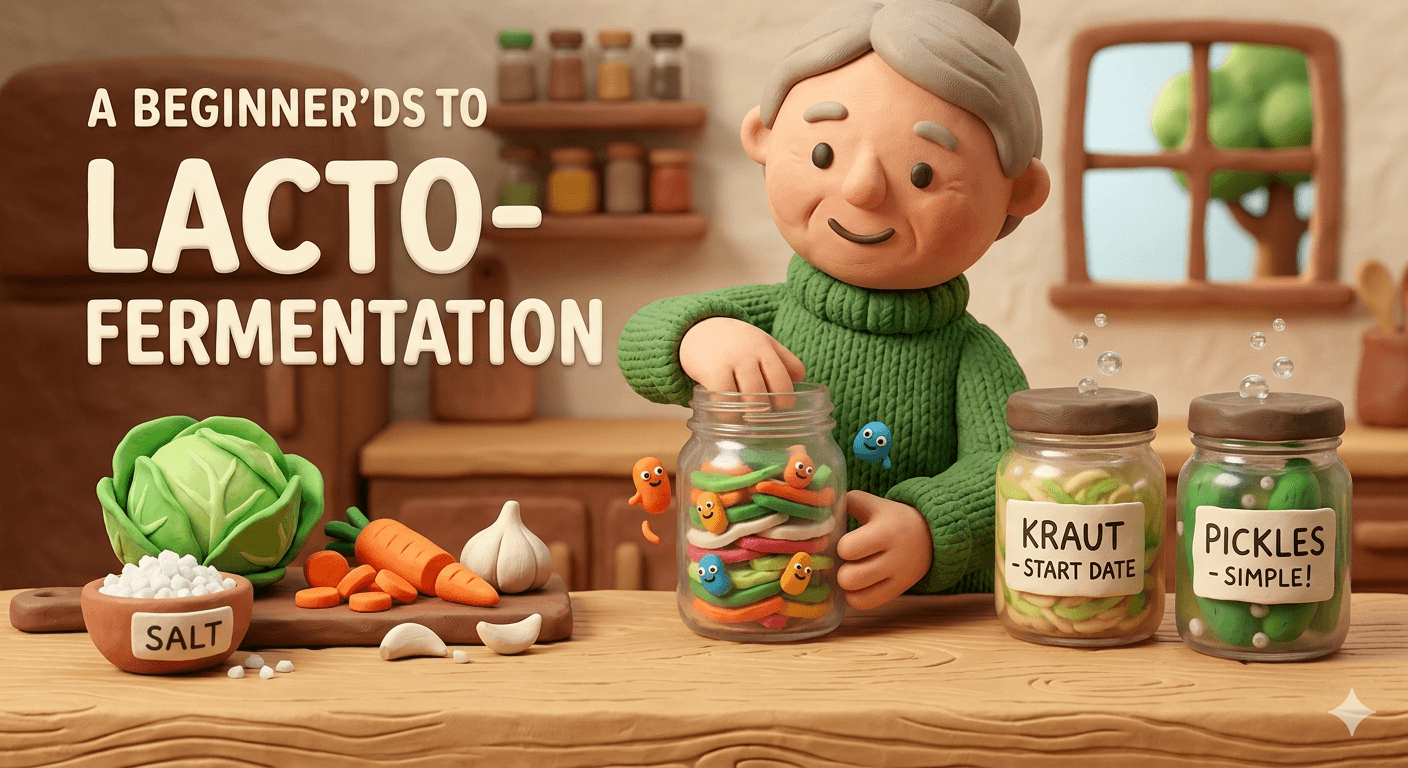
Lacto-fermentation is the easiest way to preserve vegetables at home. You do not need fancy equipment. You do not need a stove. You do not need experience. All you need is fresh produce, good salt, clean water, and a little patience.
This guide will walk you through the entire process from start to finish. By the end, you will know how to ferment cabbage into sauerkraut, cucumbers into crunchy pickles, and almost any vegetable in your garden into a tangy, probiotic rich food that lasts for months.
You can absolutely do this. People have been fermenting vegetables for thousands of years, long before refrigeration existed. The method is forgiving, safe, and incredibly rewarding. Once you make your first jar, you will wonder why you waited so long to start.
How Lacto-Fermentation Works
Lacto-fermentation relies on tiny helpers called lactobacillus bacteria. These microbes live naturally on the surface of fresh vegetables and fruit. When you submerge those vegetables in a salty brine and remove the oxygen, lactobacillus thrives while harmful bacteria cannot survive.
The salt does two important jobs. First, it pulls water out of the vegetables, creating a brine that protects the food. Second, it suppresses the bacteria that would cause spoilage, while leaving the salt tolerant lactobacillus free to multiply.
As lactobacillus eats the natural sugars in the vegetables, it produces lactic acid. That acid is what gives fermented foods their tangy flavor. It also lowers the pH of the brine to a level where mold, yeast, and pathogens cannot grow. The result is a self preserving food that is teeming with probiotics and packed with flavor.
The key conditions are simple. Vegetables stay submerged below the brine. Salt is measured carefully. Oxygen is kept out. Time and temperature do the rest.
Note
Lacto-fermentation has nothing to do with dairy. The "lacto" refers to the lactobacillus bacteria, not lactose. Fermented vegetables are completely dairy free.
Why Lacto-Ferment Vegetables
Lacto-fermentation gives you preserved food without canning, freezing, or drying. The vegetables stay crunchy. The flavors get more interesting over time. The nutritional value actually increases during the process.
Fermented vegetables are full of live probiotic bacteria. Those probiotics support gut health, digestion, and immune function. A spoonful of sauerkraut contains more beneficial bacteria than most store bought probiotic capsules.
The method costs almost nothing. A jar, some salt, and the vegetables you already have on hand are all you need. No special canner, no electricity, no precise timing. You can ferment a single jar on your kitchen counter while you sleep.
Lacto-fermentation also handles small batches gracefully. If you only have one head of cabbage or a half pound of carrots, you can ferment them. Canning often requires a full batch to be efficient. Fermenting works at any scale.
If you want shelf stable food that lasts for years, water bath canning is a great companion skill. But for fresh, living, probiotic food in your fridge, lacto-fermentation is hard to beat.
Equipment You Need
The beauty of lacto-fermentation is how simple the gear is. You probably have most of it already.
A clean glass jar
A standard wide mouth mason jar works perfectly for your first batch. Quart jars are the most popular size. They hold enough food to be worth the effort and small enough to fit on a counter. Half gallon jars are great once you get hooked.
Avoid metal containers. The acid produced during fermentation will react with most metals and can leach unwanted flavors or compounds into your food. Glass and food grade ceramic are the safest choices.
If you fall in love with the process, a traditional fermentation crock is a beautiful upgrade. It is not necessary to start.
Something to keep vegetables submerged
This is the most important piece of equipment. Vegetables that float above the brine will grow mold. Vegetables that stay submerged will not.
Glass fermentation weights are the most popular option. They sit on top of the vegetables and hold them under the brine. A small zip top bag filled with extra brine works just as well. So does a cabbage leaf folded into the top of the jar with a clean rock on top.
A lid that lets gas escape
Fermentation produces carbon dioxide. That gas needs somewhere to go, or pressure will build up inside the jar. You have two simple options.
The first is to screw a regular metal lid on loosely and burp the jar once a day by briefly unscrewing it. This works fine for short ferments and costs nothing extra.
The second is an airlock lid that lets gas out without letting air in. These are inexpensive and remove all the guesswork. If you plan to ferment regularly, an airlock lid kit is one of the best small investments you can make.
Good salt
Salt is the most important ingredient. The wrong salt will give you mushy results or cloudy brine. The right salt will give you crisp, clean ferments every time.
Use pure salt with no additives. Sea salt, kosher salt, and pickling salt all work well. Iodized table salt is a poor choice because the iodine inhibits the bacteria you are trying to grow. Salts with anti caking agents can leave a chalky residue in your brine.
Filtered water
Tap water often contains chlorine. Chlorine kills bacteria, including the helpful lactobacillus you need for fermentation. If your water is chlorinated, use filtered water or let tap water sit out uncovered for twenty four hours so the chlorine can dissipate.
Fresh vegetables
Use the freshest vegetables you can find. Garden vegetables are ideal because they still carry the wild lactobacillus on their skins. Farmers market vegetables are second best. Grocery store produce works, especially if it is organic.
Avoid waxed cucumbers from the produce aisle. The wax coating prevents the brine from penetrating properly.
Choosing a Salt and Mixing the Brine
Most lacto-fermentation problems trace back to salt. Get this part right and the rest is easy.
The standard ratio for vegetable ferments is two to three percent salt by weight. That is grams of salt per total grams of vegetables and water. A kitchen scale makes this simple.
For a typical quart jar of brined vegetables, you need about two and a half cups of water. To make a two and a half percent brine, dissolve about fifteen grams of salt (about one tablespoon of fine sea salt) into that water. Stir until the salt fully dissolves.
For dry salted ferments like sauerkraut, the math is different. You weigh the cabbage and add two percent of that weight in salt. So one thousand grams of cabbage needs twenty grams of salt. The salt pulls water out of the cabbage and creates its own brine.
Tip
Measuring salt by weight is far more accurate than measuring by volume. Different salts have very different densities. A tablespoon of fine sea salt weighs almost twice as much as a tablespoon of flaky kosher salt. A cheap kitchen scale solves the problem forever.
If you want a quick reference without a scale, here are workable starting points.
- For brined ferments, dissolve one tablespoon of fine sea salt in two and a half cups of filtered water.
- For sauerkraut, use one and a half teaspoons of fine sea salt per pound of shredded cabbage.
- For pickles, use one and a half tablespoons of pickling salt in one quart of filtered water.
These ratios are starting points. As you taste your finished ferments, adjust salt up or down to match your preference.
Step by Step: Your First Jar of Fermented Vegetables
Let us walk through a basic brined vegetable ferment using carrots. The same method works for cucumbers, radishes, green beans, peppers, garlic, and most other firm vegetables.
Step one: prep the vegetables
Wash your vegetables thoroughly. Trim off any bruised spots or damaged areas. Cut them into uniform pieces so they ferment evenly. Sticks, slices, and rounds all work. Bigger pieces ferment more slowly and stay crunchier.
Do not peel vegetables that have a thin skin. The wild lactobacillus you need for fermentation lives on those skins.
Step two: mix the brine
Measure your filtered water into a clean jar or bowl. Add salt at a two and a half percent ratio by weight. Stir until the salt dissolves completely.
You can add aromatics at this stage. Garlic cloves, dill seeds, mustard seeds, peppercorns, bay leaves, and grape leaves all add flavor. A grape leaf, oak leaf, or horseradish leaf provides natural tannins that help keep vegetables crunchy.
Step three: pack the jar
Place your aromatics in the bottom of the clean jar. Pack the vegetables in tightly, leaving about an inch and a half of space at the top. Tight packing helps keep everything submerged.
Step four: pour and submerge
Pour the brine over the vegetables until they are fully covered. Add a fermentation weight, a small bag of extra brine, or a folded cabbage leaf to keep everything below the surface. Leave at least one inch of headspace between the brine and the lid.
Step five: cover and wait
Apply your lid. If you are using a regular metal lid, screw it on loosely and remember to burp it once a day. If you are using an airlock lid, you can set it and forget it.
Place the jar on a plate or tray to catch any brine that bubbles over. Set it in a spot that stays around sixty five to seventy five degrees Fahrenheit. A kitchen counter out of direct sunlight is perfect.
Step six: taste along the way
Start tasting after about three days. Use a clean fork. The vegetables should taste tangy, salty, and slightly fizzy. If you want more sour, leave them longer. If you like a milder flavor, move them to the fridge sooner.
Most quart jar ferments are ready between five and fourteen days. Warmer rooms ferment faster. Cooler rooms ferment more slowly.
Step seven: refrigerate
When the flavor is where you want it, swap the airlock or loose lid for a regular sealed lid and move the jar to the refrigerator. The cold dramatically slows fermentation. Your ferment will keep developing flavor very slowly, but it will essentially hold for months.
Most fermented vegetables are at their best in the first three to six months. Many remain delicious well beyond that.
Vegetables That Lacto-Ferment Beautifully
Almost any firm vegetable will lacto-ferment. Some are friendlier to beginners than others.
Cabbage. The forgiving champion. Sauerkraut and kimchi are easy first projects.
Cucumbers. Use small pickling cucumbers, not the long waxed ones. Add a grape leaf for crunch.
Carrots. Sweet, crisp, and almost impossible to ruin. A great first ferment.
Radishes. Daikon and watermelon radishes turn into beautiful pink pickles.
Beets. Earthy and sweet. Slice them thin or grate them for faster fermentation.
Peppers. Hot peppers ferment into the base of homemade hot sauce. Sweet peppers add color.
Garlic. Whole peeled cloves turn mellow and tangy. Excellent on their own or as flavoring for other ferments.
Green beans. Tender beans become crunchy, bright pickles in about a week.
Cauliflower and broccoli. Both work well, though broccoli can give off a strong smell during fermentation.
Avoid soft fruits and vegetables for your first ferments. Tomatoes, berries, and peaches are possible to ferment, but they are far less forgiving than firm vegetables.
How Long Does Fermentation Take
Time depends on three things: temperature, vegetable size, and your taste.
Most countertop ferments are ready in five to fourteen days. At sixty five to seventy degrees Fahrenheit, sauerkraut needs about two weeks to fully develop. Pickles often hit their stride in five to seven days. Carrot sticks taste great in three to five.
Warmer rooms speed everything up. At eighty degrees, fermentation can finish in just a few days, but the flavor often suffers and vegetables turn mushy faster. Cooler rooms slow things down. Below sixty degrees, fermentation can stall completely.
Note
The ideal fermentation range is sixty five to seventy two degrees Fahrenheit. This is roughly room temperature in most homes. If your kitchen runs hotter or colder, find a closet or basement that hits the sweet spot.
The best way to know when a ferment is done is to taste it. Pull a sample with a clean fork every couple of days. When the flavor reaches the level of tangy you like, move the jar to the fridge.
Common Problems and How to Fix Them
Almost every fermentation problem has a simple cause and an easy fix. Here are the issues you are most likely to see.
A white film on top of the brine
This is almost always kahm yeast. Kahm is harmless. It looks like a thin, wrinkly white skin floating on the surface. It can give your ferment an off flavor if it grows for too long, but it is not dangerous.
Skim it off with a clean spoon. If the vegetables underneath taste fine, your ferment is fine. Make sure your weights are keeping everything submerged and try to keep the temperature on the lower end of the range.
Fuzzy mold
Real mold is fuzzy and comes in colors: green, blue, black, or pink. Mold is different from kahm yeast. If you see fuzzy growth on the surface or on any vegetables sticking out of the brine, the ferment is no longer safe.
Warning
If you see fuzzy or colored mold, throw the entire batch out. Do not try to scrape it off and save the rest. Mold sends invisible roots deep into the food. The good news is that mold only grows when vegetables are exposed to air. Keep everything submerged and you will almost never see it.
Mushy vegetables
Three things cause mushy ferments: not enough salt, too high a temperature, or not enough tannins. Bump your salt up toward three percent. Move the jar to a cooler spot. Add a grape leaf, oak leaf, or black tea bag to introduce tannins that help keep vegetables crunchy.
Old vegetables also produce mushy ferments. Use the freshest produce you can find.
Cloudy brine
Cloudy brine is normal and a good sign. It means lactobacillus is multiplying. The cloudiness will settle to the bottom over time. Sediment at the bottom of a finished jar is just dead bacteria and is harmless.
No bubbles
Lack of bubbles can mean fermentation is happening slowly, or it can mean nothing is happening at all. If the brine is cloudy and the jar smells tangy, fermentation is working even without visible bubbles.
If the brine is clear and the smell is not tangy after a week, your kitchen may be too cold, your salt may be too high, or your water may have killed off the bacteria with chlorine. Move the jar somewhere warmer, double check your salt ratio, and use filtered water next time.
Too salty
If your finished ferment tastes too salty, you can rinse the vegetables briefly under cool water before eating. Next time, dial the salt down by a quarter teaspoon and taste again.
Storing Your Finished Ferments
Once your ferment hits the flavor you want, refrigeration is the easiest way to slow it down and keep it for the long haul.
In the fridge, fermented vegetables will keep for many months. Most are at their peak in the first three to six months but remain perfectly safe and tasty well beyond that. The flavor will continue to deepen slowly over time.
Always use a clean utensil when scooping vegetables from the jar. Cross contamination from a used fork or finger can introduce mold or bad bacteria.
If your fridge fills up, you can also freeze fermented vegetables. Freezing kills most of the live probiotic bacteria, but the flavor and texture survive reasonably well. Sauerkraut freezes especially nicely.
Trust your senses. If a ferment smells sharp and tangy, looks bright, and tastes good, it is good. If it smells rotten, looks slimy, or tastes off, throw it out. Spoiled ferments are obvious.
Tip
Start with a single jar of basic sauerkraut. Shred a head of green cabbage, mix it with two percent salt by weight, pack it tight in a quart jar, weigh it down, and let it sit for two weeks. That one project will teach you almost everything you need to know.
Frequently Asked Questions
Frequently Asked Questions
Yes. Lacto-fermentation is one of the safest food preservation methods that exists. The combination of salt and the acid produced by lactobacillus creates an environment where harmful bacteria cannot survive. As long as you keep your vegetables submerged in a properly salted brine, the science of fermentation does the work of keeping the food safe.
No. Vegetables already carry the wild lactobacillus bacteria you need on their skins. Salt and time are all you need to get fermentation going. Some traditional recipes call for whey or a starter culture, but for vegetables they are completely optional.
Cloudy brine is a healthy sign of active fermentation. It means lactobacillus is multiplying as it should. The cloudiness will often settle to the bottom of the jar over time. A small amount of sediment at the bottom of a finished ferment is normal and harmless.
Yes, brine from a finished ferment can be reused. Pour it over a fresh batch of vegetables to give them a head start with an active culture. You can also drink it as a probiotic shot or use it in salad dressings, soups, and marinades.
A thin, white, wrinkly film on the surface is almost always kahm yeast. Kahm is harmless but can give your ferment an off flavor if left to grow. Skim it off with a clean spoon and continue fermenting. If the growth is fuzzy or colored, that is mold and the batch should be thrown out.
Only if you are using a sealed lid. Fermentation produces carbon dioxide, and that gas needs somewhere to go. With a regular metal lid, unscrew it briefly once a day during the active phase to let pressure escape. With an airlock lid, the gas vents on its own and burping is not needed.
No. The lactic acid produced during fermentation will react with most metals and can leach unwanted flavors and compounds into your food. Stick with glass jars, food grade ceramic crocks, or food grade plastic. Stainless steel is the only metal generally considered safe, but glass is much easier.
Taste it. Starting around day three, pull a small sample with a clean fork every couple of days. When the flavor reaches the level of tangy you enjoy, move the jar to the refrigerator. Most ferments are ready between five and fourteen days at room temperature.
Not exactly. Vinegar pickles get their tang from added vinegar and are usually heat processed. Lacto-fermented pickles get their tang from lactic acid produced naturally by bacteria. Lacto-fermented pickles are alive and full of probiotics. Vinegar pickles are not.
If you see fuzzy growth in any color, throw the entire batch out. Mold sends roots deep into the food, so scraping it off the top is not enough. Mold only grows on vegetables exposed to air, so the best prevention is making sure everything stays fully submerged in the brine.
Start Today
Lacto-fermentation is one of those skills that sounds intimidating until you do it once. The first jar is the hardest. After that, it becomes second nature.
Start small. Pick one vegetable from your garden or your fridge. Mix a simple brine. Pack a clean jar. Wait a week. Taste the result. You will be hooked.
If you want to fill your pantry with shelf stable food next, the beginner's guide to canning is a great next step. For now, grab a head of cabbage and a jar. Two weeks from now, you will have a homemade probiotic food that you grew, salted, and transformed yourself.
Welcome to fermenting.

Cole
Founder & Lead Researcher
Cole is the founder of Plan Your Homestead. He works in clinical research and brings a research-first lens to every guide on the site, drawing on a long family line of farmers for grounded, practical perspective.
More in Food Preservation
More articles coming soon. Check back for new food preservation content.