Ask any old gardener what their secret is and you will get the same answer. The soil. Healthy plants grow themselves once the dirt under them is alive and rich. Sick soil grows sick plants no matter how much fertilizer you throw at it.
Most homestead gardens start with soil that is not great. Maybe it is heavy clay that turns to brick in July. Maybe it is sand that drains every drop of rain in an hour. Maybe it is the lifeless compacted ground left behind by years of lawn or pasture. The good news is that any soil can be turned into garden gold. It just takes a little time and the right approach.
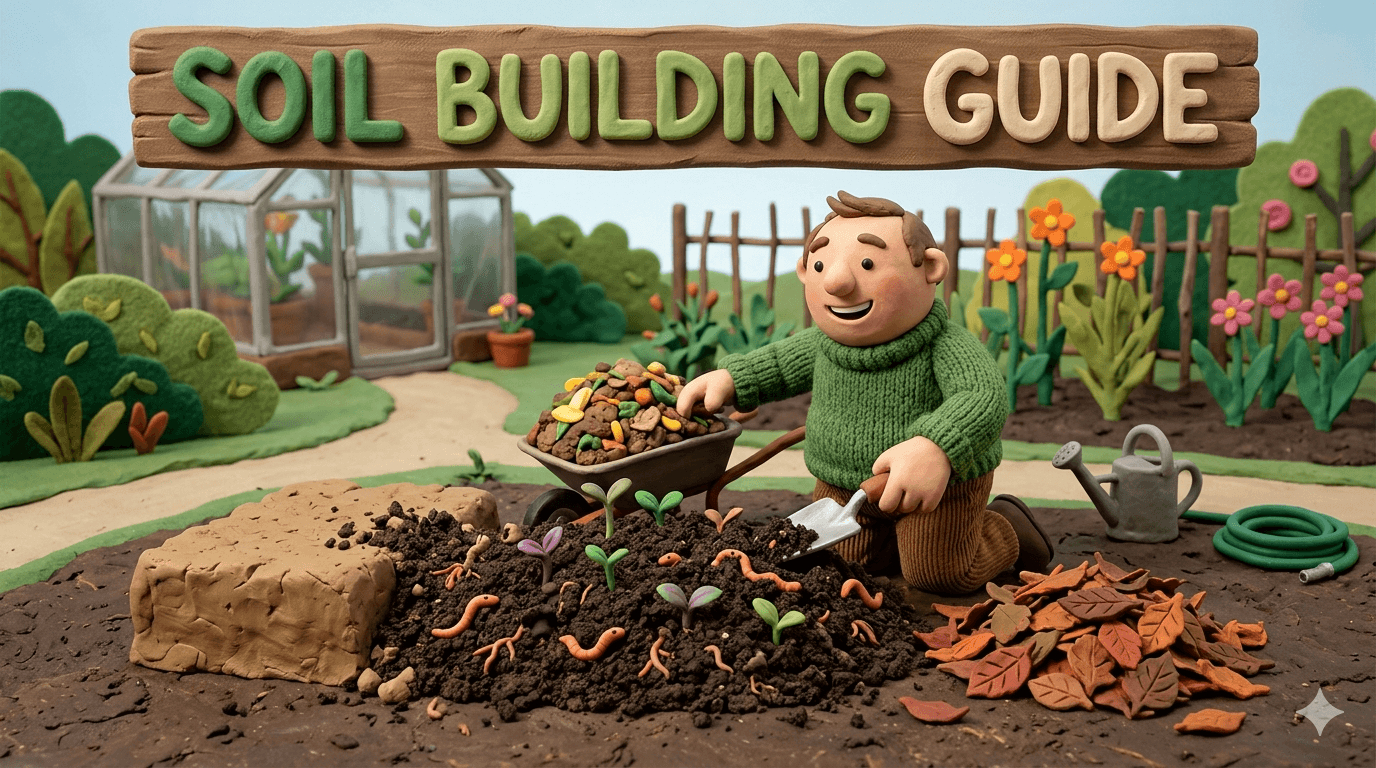
This guide walks you through everything you need to build healthy soil on your homestead. You will learn how to test what you have, what healthy soil actually looks like, the four pillars that build it, and the year by year plan that turns dead dirt into a living, productive garden. By the end you will know exactly where to start no matter how rough your ground looks today.
What Healthy Soil Actually Means
Most beginners think of soil as just brown stuff that holds plant roots in place. Healthy soil is something very different. It is alive. A single teaspoon of rich garden soil holds more living organisms than there are people on Earth. Bacteria, fungi, protozoa, nematodes, earthworms, and dozens of other tiny creatures all work together to feed your plants.
Healthy soil also has the right physical structure. It crumbles when you squeeze a handful. Water soaks in fast instead of pooling on the surface. Roots push through it easily. It smells sweet and earthy, like a forest floor after rain.
Finally, healthy soil holds the right balance of nutrients. The big three are nitrogen, phosphorus, and potassium, but the trace minerals matter just as much. A soil with all the nitrogen in the world will still grow weak plants if it is missing calcium or zinc.
When you build soil, you are working on all three of these at once. Life, structure, and minerals. Skip any one and the other two will not carry your garden alone.
Know Your Starting Point: Simple Soil Tests
Before you spend a dime on amendments, you need to know what you have. Five minutes of testing saves you years of guessing.
The jar test
This one tells you the basic texture of your soil. Sand, silt, or clay. Fill a quart jar one third full with soil from the top six inches of your garden. Add water until the jar is almost full, screw the lid on, and shake hard for two minutes. Set the jar on a shelf and leave it alone.
In a few minutes the sand will settle to the bottom. After a couple hours the silt layer will form on top of the sand. Clay can take a day or two to fully settle on top of the silt. Measure each layer with a ruler. Heavy clay soil shows mostly clay. Sandy soil shows mostly sand. The ideal mix, called loam, is roughly forty percent sand, forty percent silt, and twenty percent clay.
The squeeze test
Grab a handful of moist soil and squeeze it into a ball. Now open your hand. Sandy soil falls apart immediately. Clay soil holds its shape and feels slick. Loamy soil holds together when you squeeze but crumbles apart with light pressure. This is the texture you are aiming for.
The pH test
Soil pH controls how well your plants can take up nutrients. A cheap pH strip kit from any garden store works fine for a starting read. Most vegetables grow best between 6.0 and 7.0. Below 6.0 your soil is too acidic. Above 7.0 it is too alkaline. Blueberries and a few others like it more acidic, but the average garden bed wants near neutral.
The lab test
For ten to thirty dollars, your county extension office or a soil testing lab will run a full panel. You will get back pH, organic matter percentage, the big three nutrients, calcium, magnesium, sulfur, and a recommendation for exactly what your soil needs. If you only test your soil once, this is the test to run. It pays for itself ten times over by telling you what to skip.
Tip
Test your soil in fall if you can. You will have all winter to add lime, sulfur, or other slow acting amendments so they have time to work before spring planting.
For more on how composting feeds the same soil life this guide is built around, our composting 101 guide covers the basics.
The Four Pillars of Soil Building
Every healthy soil comes down to four things working together. Get all four right and your garden takes care of itself.
Organic matter
Organic matter is the foundation. It is the partly decomposed plant and animal material that feeds soil life, holds water, and gives soil that dark crumbly texture. Most garden soil starts around one to two percent organic matter. Healthy garden soil sits at five to eight percent. Forest soils can hit twenty percent or higher.
You add organic matter by piling compost, mulch, leaf mold, aged manure, and cover crop residue on top of your beds. Every layer of organic material you add slowly works its way down into the soil and feeds everything else.
Soil biology
The bacteria, fungi, and bigger critters in your soil are what actually feed your plants. They break down organic matter into the simple nutrients plant roots can absorb. Fungi extend the reach of plant roots by hundreds of feet through tiny threads called mycorrhizae. Earthworms move tons of material per acre every year and leave behind some of the richest plant food on Earth.
You build soil biology by feeding it. Organic matter is the food. Stop tilling, which destroys fungal networks. Stop spraying broad spectrum pesticides and fungicides, which kill the helpers along with the pests. Keep the soil covered with mulch or living plants so it never sits bare and bakes.
Soil structure
Structure is how the mineral particles in your soil are arranged. Good structure means plenty of pore space for air, water, and roots. Bad structure means compaction, pooling water, and roots that cannot push through.
You build structure by adding organic matter, growing deep rooted cover crops, and protecting the soil from heavy equipment and foot traffic. Permanent paths between beds keep human weight off the growing area. Mulch protects the surface from pounding rain that compacts the top layer.
Minerals
Even with great organic matter and biology, your soil still needs the raw minerals plants are built from. The big three are nitrogen, phosphorus, and potassium. Beyond that come calcium, magnesium, sulfur, and a long list of trace minerals.
Most of these come in slowly through compost, mulch, and aged manure. Sometimes a soil test will show a specific shortage, and you fix it with a targeted amendment. We will cover which amendments are worth buying further down.
The Fastest Way to Build Soil: Compost and Mulch
If you do nothing else from this guide, do this. Pile compost and mulch on top of your beds every single year. This one habit will turn the worst soil into productive garden in three to five seasons.
A two inch layer of finished compost spread across the surface of a bed each spring adds roughly one percent organic matter to the top six inches. Do that for five years and you have gone from typical lawn dirt to true garden soil. No tilling required. Earthworms and rain will pull the compost down into the soil for you.
On top of the compost, add a two to four inch layer of mulch. Shredded leaves, straw, wood chips, grass clippings, or pine needles all work. Mulch holds in moisture, keeps weed seeds from sprouting, moderates soil temperature, and slowly breaks down into more organic matter. By the end of the season most of your mulch will be gone, having become part of your soil.
Free sources of organic matter are everywhere if you look. Fallen leaves in fall are the single best bulk source. Coffee grounds from a local cafe. Aged horse or cow manure from a nearby farm. Spent straw from a chicken coop. Wood chips from a local arborist. Lawn clippings from your own yard, as long as no herbicides have been used.
Tip
The single fastest soil building hack is shredded leaves. Run a lawn mower over a pile of fall leaves to chop them up, then spread them four inches deep on your beds. By spring they will be half broken down and worms will have hauled the rest into the soil. It costs nothing and works as well as anything you can buy.
Cover Crops: Free Soil Building While You Sleep
Cover crops are plants you grow specifically to improve your soil, not to harvest for food. They build organic matter, prevent erosion, suppress weeds, fix nitrogen from the air, and keep the soil alive during seasons your garden is otherwise empty.
The five cover crops every beginner should know are these.
Crimson clover. A legume that pulls nitrogen out of the air and fixes it in the soil. Plant in fall or early spring. Mow or crimp before it sets seed and let it decompose in place.
Winter rye. A fast growing grass that smothers weeds and adds huge amounts of root mass to the soil. Plant in fall and let it grow through winter. Cut it down in spring before planting.
Buckwheat. A summer cover crop that grows from seed to flower in just five weeks. Smothers weeds, breaks up surface compaction, and attracts pollinators. Cut it down before it sets seed.
Daikon radish. The drill bit of cover crops. Its huge taproot punches through compacted subsoil up to two feet deep. Plant in late summer, let it die over winter, and the rotting roots leave deep channels for water and air.
Hairy vetch. A nitrogen fixing legume that overwinters well in most zones. Often grown with winter rye for an unbeatable cover crop combo.
The simplest cover crop plan for a beginner is this. After your last summer harvest, broadcast a mix of winter rye and crimson clover over the empty bed. Rake it in and water once. In spring, cut the cover crop down two weeks before planting and lay it on the surface as mulch. You will have added organic matter, fixed nitrogen, choked out weeds, and protected the soil all winter for the price of a bag of seed.
Stop Tilling, Start Layering: The No Till Approach
Every spring, gardeners pull out the rototiller and chew up their beds. It looks productive. The soil is fluffy. Weeds are turned under. The garden looks ready to plant. The problem is that tilling destroys the very soil life and structure you are trying to build.
Tilling slices fungal networks into pieces. It buries the topsoil where life is densest and exposes deeper soil that has less biology. It releases stored carbon into the air. It pulverizes soil aggregates, which leads to compaction and crusting as soon as the rain comes. Most of all, it brings up a fresh batch of weed seeds from below and gives them perfect conditions to sprout.
The no till approach builds soil instead of destroying it. You leave the underground structure alone and build up new soil on top with compost, mulch, and cover crop residue. To plant, you pull back the mulch, drop in seeds or transplants, and pull the mulch back around them. That is the whole method.
Switching to no till in an established garden takes one or two seasons of patience while the soil rebuilds. In new ground, you can layer compost and mulch right on top of the existing surface and start planting that same season. Our full no till gardening guide walks through the exact transition.
Warning
Do not till compacted or wet clay soil thinking it will help. It makes the long term problem worse by destroying any remaining structure. Build soil on top with organic matter and use deep rooted cover crops like daikon radish to crack open the layer below.
Soil Amendments Worth Buying (and What to Skip)
Once you have a soil test in hand, certain amendments are worth their cost. Others are mostly hype. Here is the honest list.
Worth buying
Compost. If you cannot make enough yourself, buy bulk compost from a local supplier by the cubic yard. Far cheaper than bagged.
Aged manure. Composted cow, horse, sheep, goat, or rabbit manure. Free or cheap from local farms. Always aged at least six months before use to avoid burning plants.
Lime. If your soil test shows pH below 6.0, agricultural lime brings it up. Dolomitic lime also adds magnesium if you are low.
Sulfur. If your soil is too alkaline, elemental sulfur lowers pH slowly over months.
Rock phosphate. A slow release phosphorus source that lasts years in the soil. Worth adding once if your soil test shows a phosphorus deficiency.
Kelp meal. A great source of trace minerals and natural plant growth hormones. A small bag goes a long way.
Greensand. A slow release potassium source mined from old seabeds. Also adds trace minerals.
Skip or use sparingly
Synthetic fertilizers. They feed the plant but starve the soil. Repeated use damages soil biology and creates dependency.
Peat moss. Mined from ancient bogs that take thousands of years to form. Use coconut coir instead for the same water holding effect.
Vermiculite and perlite. Useful in seed starting mixes but pointless in a garden bed. Compost does the same job better.
Fancy mineral blends with secret ingredients. Most are overpriced versions of the basics above. Stick with the proven amendments.
Anything with weed killers mixed in. These can persist in soil for years and damage future crops.
Tip
The cheapest, most effective amendments are also the simplest. Compost, aged manure, mulch, lime if needed, and a good cover crop seed mix. Most expensive products on the garden center shelf will not outperform these.
Building Soil in Raised Beds vs In Ground Gardens
The principles are the same but the approach differs slightly depending on how you garden.
In ground beds
You are working with whatever soil is already there. Test it, add lime or sulfur to balance pH, then start the long process of layering compost and mulch on top. The deep native soil profile is a huge advantage once you build it up. Cover crops shine here because they can put down four foot roots that bring up minerals from deep below.
Year one, expect modest results. Year two, noticeably better. By year three or four, you will have built real garden soil. Patience pays here.
Raised beds
You get to start with the soil you want. The classic mix is one third quality topsoil, one third compost, and one third aeration material like coarse sand, leaf mold, or aged wood chips. Fill the bed once, then top dress with one to two inches of fresh compost every spring after.
Raised beds dry out faster than in ground beds, so mulching is even more important. They also do not have the deep mineral reservoir of native soil below, so a yearly top up of compost and a balanced trace mineral source like kelp meal keeps them productive long term.
For a deeper dive on building and filling raised beds, our raised bed gardening guide covers the full setup.
A Year by Year Soil Building Plan for a New Homestead Garden
If you are starting from scratch on a piece of land that has never been gardened, here is a realistic five year plan to turn it into a thriving garden.
Year one: Cover and feed
Do not till. Mow whatever is growing as short as possible. Lay down a layer of cardboard to smother the existing vegetation, then pile four to six inches of compost or aged manure on top. Cover that with four inches of mulch. Plant directly into the compost layer this season. Run a soil test on your underlying ground in fall and apply lime or sulfur as needed.
Year two: Add cover crops
Top dress with two inches of compost in spring before planting. After your summer harvest, sow a cover crop mix of winter rye and crimson clover. Cut and mulch in place the following spring. The cardboard from year one is gone and your earthworms are now multiplying fast.
Year three: Build the rotation
You now have visible improvement. Soil is darker, easier to dig, full of worms. Add another inch or two of compost in spring. Use cover crops in any beds that come out of production early. Start saving leaves in fall in large quantities.
Year four: Deep mineral balance
Run a second full soil test. Address any specific mineral shortages with targeted amendments. Add another spring layer of compost. The native soil below is now well integrated with the layers you added.
Year five and beyond: Maintenance
Your soil is now real garden soil. Top dress with an inch or two of compost each spring. Keep beds covered with mulch or cover crops year round. Run a soil test every three to four years. The garden mostly takes care of itself from this point on.
The planting calendar tool can help you map cover crop and main crop timing to your specific zone.
Common Soil Building Mistakes to Avoid
Most soil building setbacks come down to a handful of recurring mistakes. Skip these and your progress will be faster.
Tilling year after year. Each pass destroys structure and biology you have built. Even one tilling can set you back two seasons.
Leaving soil bare. Bare soil bakes in summer, erodes in rain, and grows weeds in any open patch. Keep every inch of soil covered with mulch or growing plants.
Adding too many amendments at once. Throwing every product on the garden center shelf at your soil wastes money and can throw off mineral balances. Test, add what is needed, wait, and retest.
Skipping the soil test. You cannot fix what you have not measured. Guessing at lime, sulfur, or fertilizer can do more harm than good.
Using fresh manure. Manure must be composted for at least six months before use. Fresh manure burns plants, may carry pathogens, and can contain weed seeds.
Walking on growing beds. Foot traffic compacts soil and destroys structure. Build permanent paths and never step on bed surfaces.
Expecting overnight results. Soil building is the slowest part of gardening. Real change takes three to five years. Trust the process.
Ignoring the underlying compaction. If you garden over hardpan or heavy clay subsoil, surface amendments alone will not fix drainage problems forever. Deep rooted cover crops like daikon radish do what no shovel can.
Frequently Asked Questions
Frequently Asked Questions
Plan on three to five years to turn poor or dead soil into rich, living garden soil. You will see noticeable improvement after the first year of layering compost, mulch, and cover crops, but real depth of soil life and structure takes several full seasons. The good news is that every year compounds on the last, and once you reach year four or five the soil mostly maintains itself with light top dressing each spring.
Yes, and this is one of the easiest ways to start a new garden bed. Mow the existing vegetation as short as possible, lay down a layer of cardboard or several sheets of newspaper, then pile four to six inches of compost or aged manure on top. Cover with mulch. The cardboard smothers what was growing, the compost provides immediate growing space, and within six to twelve months the buried vegetation has decomposed into more soil.
Finished compost. Nothing else does as many jobs at once. Compost feeds soil biology, adds organic matter, supplies a balanced mix of nutrients, improves both clay and sandy soil structure, and helps the soil hold the right amount of water. If you can only add one thing each year, make it compost. Two inches spread on the surface every spring will transform any garden over time.
No. Tilling new ground is a tempting shortcut but it sets back the soil building process by destroying any existing biology and structure. A better first year approach is sheet mulching with cardboard and compost on top, paired with deep rooted cover crops like daikon radish to crack open compacted layers underneath. You skip the tilling damage and get faster long term results.
Top dress your beds with one to two inches of compost every spring before planting. That is the rhythm for established gardens. If you are building new beds or recovering very poor soil, you can add three or four inches the first year. After the spring application, keep beds mulched all season and the compost will slowly work its way down into the soil through earthworm activity and rainfall.
It varies wildly. Some bulk topsoil is decent and some is closer to scraped subsoil with very little organic matter. Always ask your supplier where it came from and what is in it. For best results, mix any purchased topsoil with an equal amount of finished compost and some aged leaf mold before filling beds. Never fill a raised bed with topsoil alone because it will compact and underperform within a season.
Absolutely. The best soil builders are usually free. Fallen leaves in fall, grass clippings from your own yard, coffee grounds from a local cafe, aged manure from a neighbor with horses or chickens, kitchen scraps composted at home, and your own homegrown cover crop seed in later years. Most homesteaders spend nothing on soil amendments after the first year or two. The work shifts from buying to gathering and growing.
Different weeds tell you different things about your soil. Dandelions and chicory often signal compacted ground. Plantain points to compaction too. Nettles and chickweed thrive in rich, nitrogen heavy soil and are actually a sign of fertility. Bindweed and quackgrass dominate disturbed or poorly mulched ground. Identify the weeds you keep seeing and they will give you clues about what your soil needs. Then keep it covered with mulch or cover crops so weed seeds have a hard time taking hold.
Soil is the long game of homesteading. It does not improve in a weekend, and you cannot buy your way to it in a single spring. But every layer of compost you spread, every fall of leaves you gather, every cover crop you grow is a deposit in a bank account that will pay you back for the rest of your gardening life. Stay patient, keep the soil covered, feed the life underneath, and your garden will outgrow anything you can buy at the store.
For the broader picture on how soil fits into your whole first garden, our ultimate guide to starting a homestead garden from scratch ties soil building together with bed layout, crop choice, and first season planning.

Cole
Founder & Lead Researcher
Cole is the founder of Plan Your Homestead. He works in clinical research and brings a research-first lens to every guide on the site, drawing on a long family line of farmers for grounded, practical perspective.
More in Gardening
More articles coming soon. Check back for new gardening content.